Wildlife
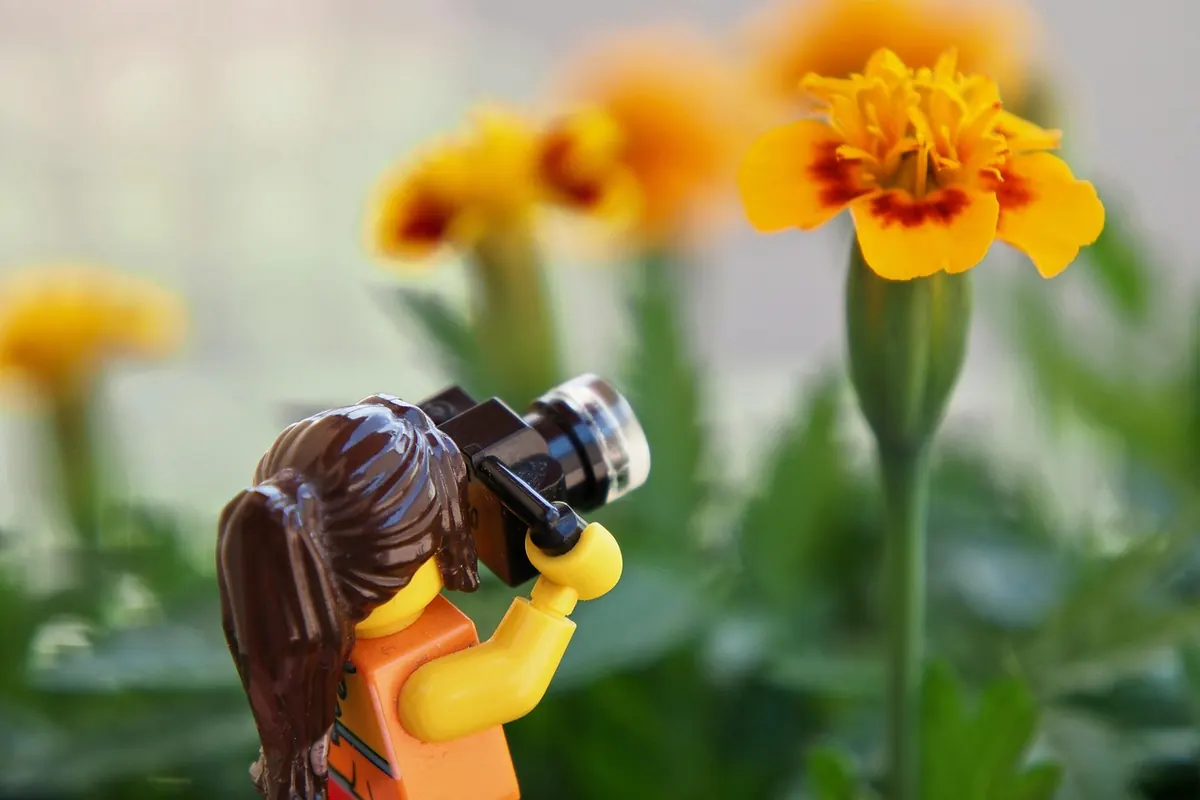
Wildlife-Safe Photography: What to Do and Avoid When Shooting Small Creatures
A damselfly settles on a reed, wings catching the light like wet cellophane, and the instinct is to lean in fast and get the frame before it goes. That lean is usually where the trouble starts. Small creatures operate on a different clock and a different budget of energy: a few seconds of panic can cost an insect a morning of feeding, or a frog a skin coating it needs. None of this makes good photographs harder to get. Most of the time, slowing down is the technique that produces them.
Read the animal before you raise the camera
Give yourself two or three minutes of nothing but watching. You will learn more about the shot in that time than in ten minutes of fidgeting with settings. Watch for the signs of discomfort: a change in posture, wings lifting away from the body, a leg cocked towards you, a frog shifting its weight, a lizard lifting its head. These are warnings, and they escalate. When you see one, stop, back off half a metre, and wait.
Comfort looks different. A hunting dragonfly returns to the same twig between sallies. A jumping spider turns to track your finger without retreating. A newt resumes its slow walk along the pond floor. Those are your cues to move in again, a centimetre at a time, with long pauses between adjustments. Approach, pause, watch, approach. Anyone who has spent an afternoon with a slow-moving subject knows the rhythm.
Fieldcraft: low, slow, and off the sun's line
Most beginners approach from directly above, casting a shadow over the subject and blocking their own light. Come in low and slightly to the side instead, so your body is not over the animal and your shadow falls behind it. Move when the subject moves, not when it is still and watching. If the creature is on a twig, use the twig's natural sway as cover for your own small movements.
- Stay off the direct approach line. Creep in at an angle; a silhouette that grows larger straight ahead reads as a predator.
- Keep your shadow behind you. Side-lighting flatters textures on carapaces and wet skin, and it doesn't spook the subject.
- Sit down. Kneeling or lying flat brings you to eye level with small subjects and makes you far less threatening than a standing figure.
- Avoid vertical movements. Handheld macro work benefits from a monopod or a beanbag so you are not bobbing up and down between frames.
- Watch your footing first. Look at the ground before you look through the viewfinder. Egg masses, ground nests and fragile moss are easier to crush than to notice.
Hands off, unless there is a real reason
Picking a subject up to place it on a photogenic leaf is the most common bad habit in macro photography, and it is almost never necessary. Amphibians are especially vulnerable: their skin is a respiratory surface and a barrier, and the oils, salts and residues on human hands — sunscreen and insect repellent in particular — can do real harm. Handling also risks transferring pathogens between individuals and between sites.
The exception is a genuine rescue. If an insect or a frog is on a footpath where it will certainly be stepped on, moving it a short distance is a kindness. Do it quickly, with clean hands, ideally damp for amphibians, keep it out of the sun, and put it down in cover near where you found it. Do not turn a rescue into a photo session.
Skip the staging tricks altogether: no chilling insects to slow them down, no glue, no tying threads, no refrigerated subjects for a "still life". And no baiting with sugar water or honey, which can spread disease and pull animals into unnatural concentrations where predators and parasites find them easily.
Light and temperature without force
Flash is fine. Flash abused at close range is not. A bare speedlight inches from a damselfly's eyes is a genuinely harsh event, and repeated bursts on the same individual are worse. Fit a diffuser — a homemade one cut from a translucent plastic bottle works — keep power low, and use single frames rather than machine-gun bursts on a subject that cannot leave quickly.
Be careful with cold. Early morning is a wonderful time for invertebrates because they are torpid and easy to photograph, but that torpor is their defence against the cold, and they need the sun to warm up. Shoot them where they are, don't move them into shade or hold them while you set up, and don't block the light they are trying to catch. Night work calls for red light with caution: many invertebrates do respond to it, so keep the beam brief and pointed away until you are ready.
The habitat is part of the picture
A clean background is worth a lot in a photograph, but not at the price of the site. Don't snap off stems, clear a patch of moss or pull leaves aside permanently for a better frame. If you must part vegetation, use a single finger and let it spring back. Logs and stones that you turn over to find what is underneath should go back exactly as they were, in the same orientation, within a minute or two — the damp microclimate beneath is the whole point.
Be equally careful around gatherings. Breeding ponds, nesting aggregations and mass emergences are spectacular and fragile. Stay on the bank rather than wading through egg masses, keep a distance that doesn't scatter the group, and take your frames and leave.
Gear and settings that keep their distance
Working distance matters more than magnification. A shorter macro lens can fill the frame with a beetle, but it puts you so close that you become part of the animal's world. A 100mm macro gives you roughly 15cm of breathing room at life size; a 180mm gives considerably more, at the cost of weight and money. Extension tubes and a good close-up diopter are cheap ways to gain magnification on a lens you already own, and a longer lens with a tube often beats a shorter one for skittish subjects.
On settings, manual focus with a small focus step beats autofocus hunting. Start around f/8 to f/11 for invertebrates, raise ISO before you reach for flash, and accept a slightly softer frame rather than pushing the light. Focus stacking gives lovely detail on still subjects such as resting moths or fungi, but don't demand stillness from something that wants to leave — take the single frame and let it go.
Know the rules where you are standing
Many countries protect amphibians, reptiles, nesting birds and certain invertebrates by law, and permits are sometimes required for close or flash photography at sensitive sites. Rules vary widely between regions and even between reserves, so check with the land manager or the local wildlife authority before you plan a trip. If a site is closed for breeding season, that closure applies to photographers too.
One more habit worth adopting: clean your boots, tripod feet and any gear that has been in water before you move to a new site. Mud carries seeds, spores and amphibian diseases, and a few minutes with a brush and a cloth is the cheapest conservation you will ever do.
A short checklist before you pack up
- Watch first, shoot second — spend the opening minutes just observing.
- Approach low, off the sun line, in pauses rather than one long creep.
- Keep hands off the subject; move yourself, not the animal.
- No chilling, no glue, no bait, no bursts of bare flash at close range.
- Replace every log, stone and stem as you found it.
- Leave breeding and nesting sites undisturbed, and check local rules before you go.
- Clean your kit between sites.
- Before you leave, look at the spot where you were lying. If it looks untouched, you did it right.
Photo: Ralf1403 / Pixabay
Related Articles